

ERPNext — configuration
The ERPNext integration runs entirely on the Sancho side — you install nothing on the ERPNext server. Sancho connects to your instance over HTTPS, authenticating with an API key and secret pair issued for a chosen ERPNext user.
ERPNext / Frappe 16 is supported.
What the integration covers
Section titled “What the integration covers”| Area | ERPNext document | Scope |
|---|---|---|
| Warehouses | Warehouse |
read, create, edit, delete |
| Products | Item |
read, create, edit |
| Counterparties | Supplier, Customer |
read, create, edit (address included) |
| Receipts | Purchase Receipt, Stock Entry (Material Receipt) |
read, create, edit, delete, cancel |
| Issues | Delivery Note, Stock Entry (Material Issue) |
read, create, edit, delete, cancel |
| Transfers | Stock Entry (Material Transfer) |
read, create, edit, delete, cancel |
| Purchase orders | Purchase Order |
read, create |
| Employees | Employee |
read-only |
| Invoices | Purchase Invoice, Sales Invoice |
read-only |
What you need
Section titled “What you need”-
Server address. The full address of the instance, e.g.
https://erp.mycompany.com. It must be reachable from the internet over HTTPS. -
API key and secret. In ERPNext, open the User record, expand the API Access section and choose Generate Keys. The secret is shown once, right after generating — save it immediately. The key stays visible on the user record.
-
Company. The
CompanySancho should work within. Every document and warehouse list is filtered by it, and every document Sancho creates carries it.
Adding the integration in Sancho
Section titled “Adding the integration in Sancho”-
In settings, go to Workspace → Integrations and click Add integration.
-
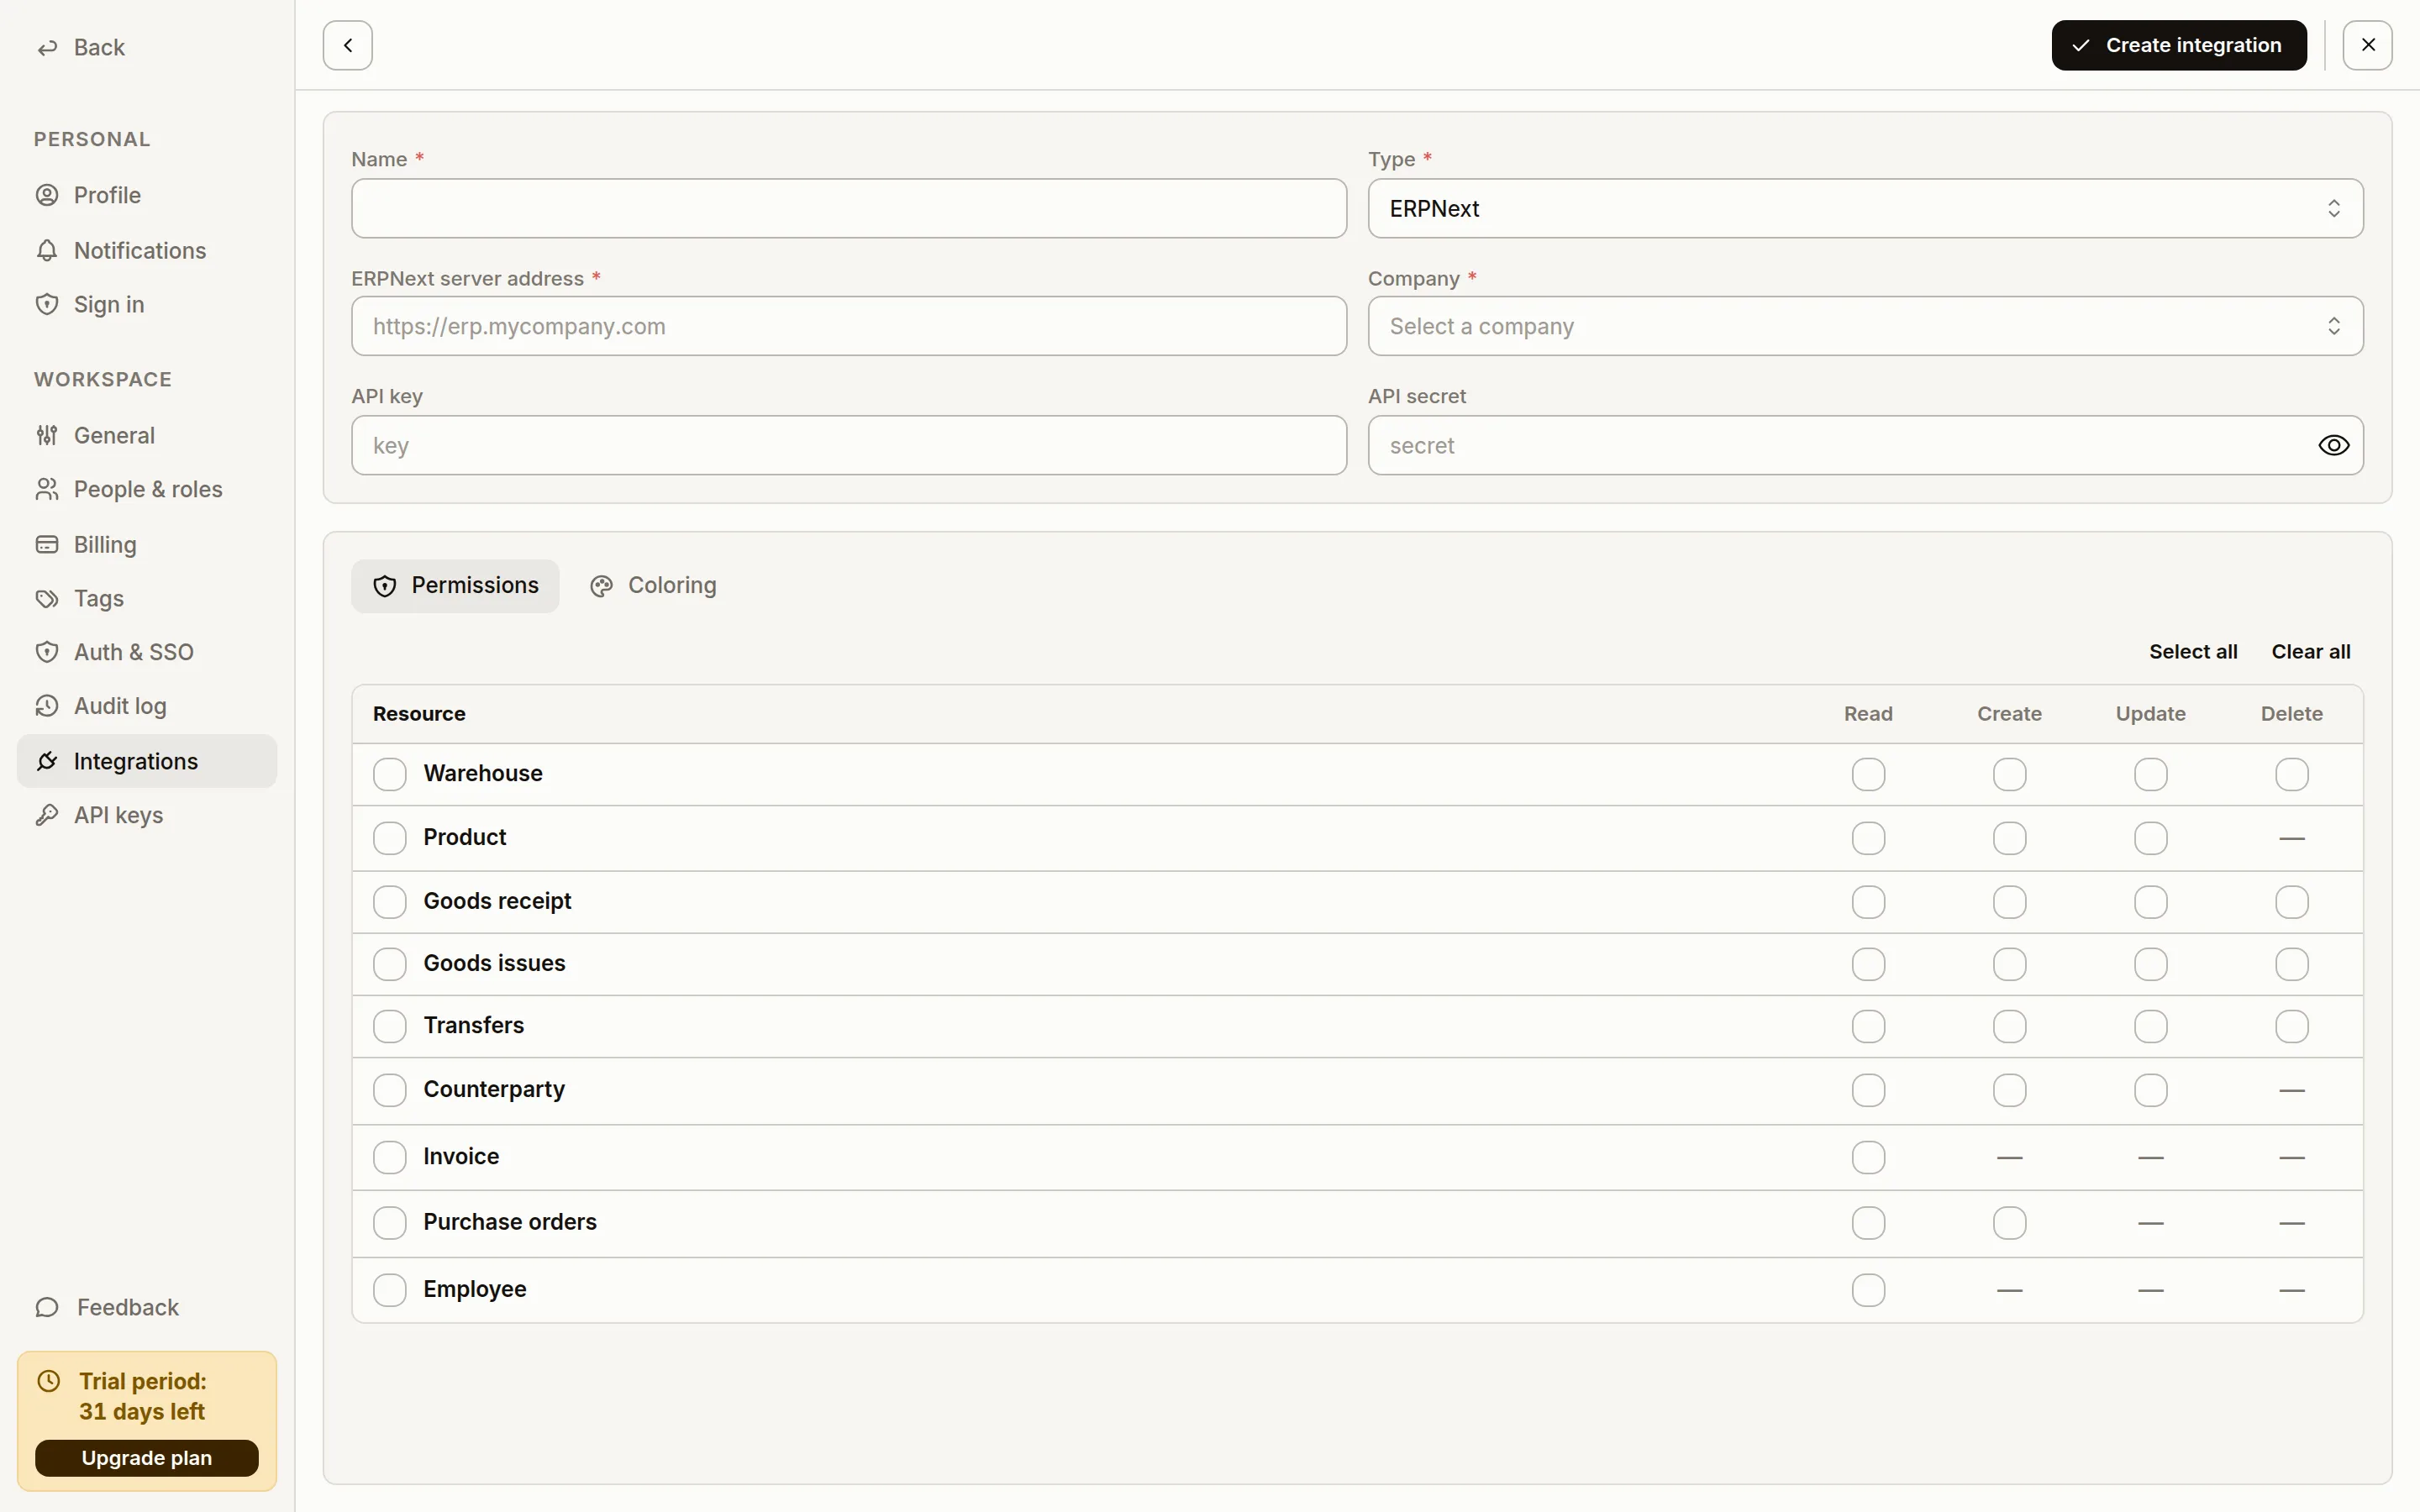
Fill in the header: Name, Type —
ERPNext, ERPNext server address, API key and API secret. The type drives the rest of the form — each ERP has its own set of fields.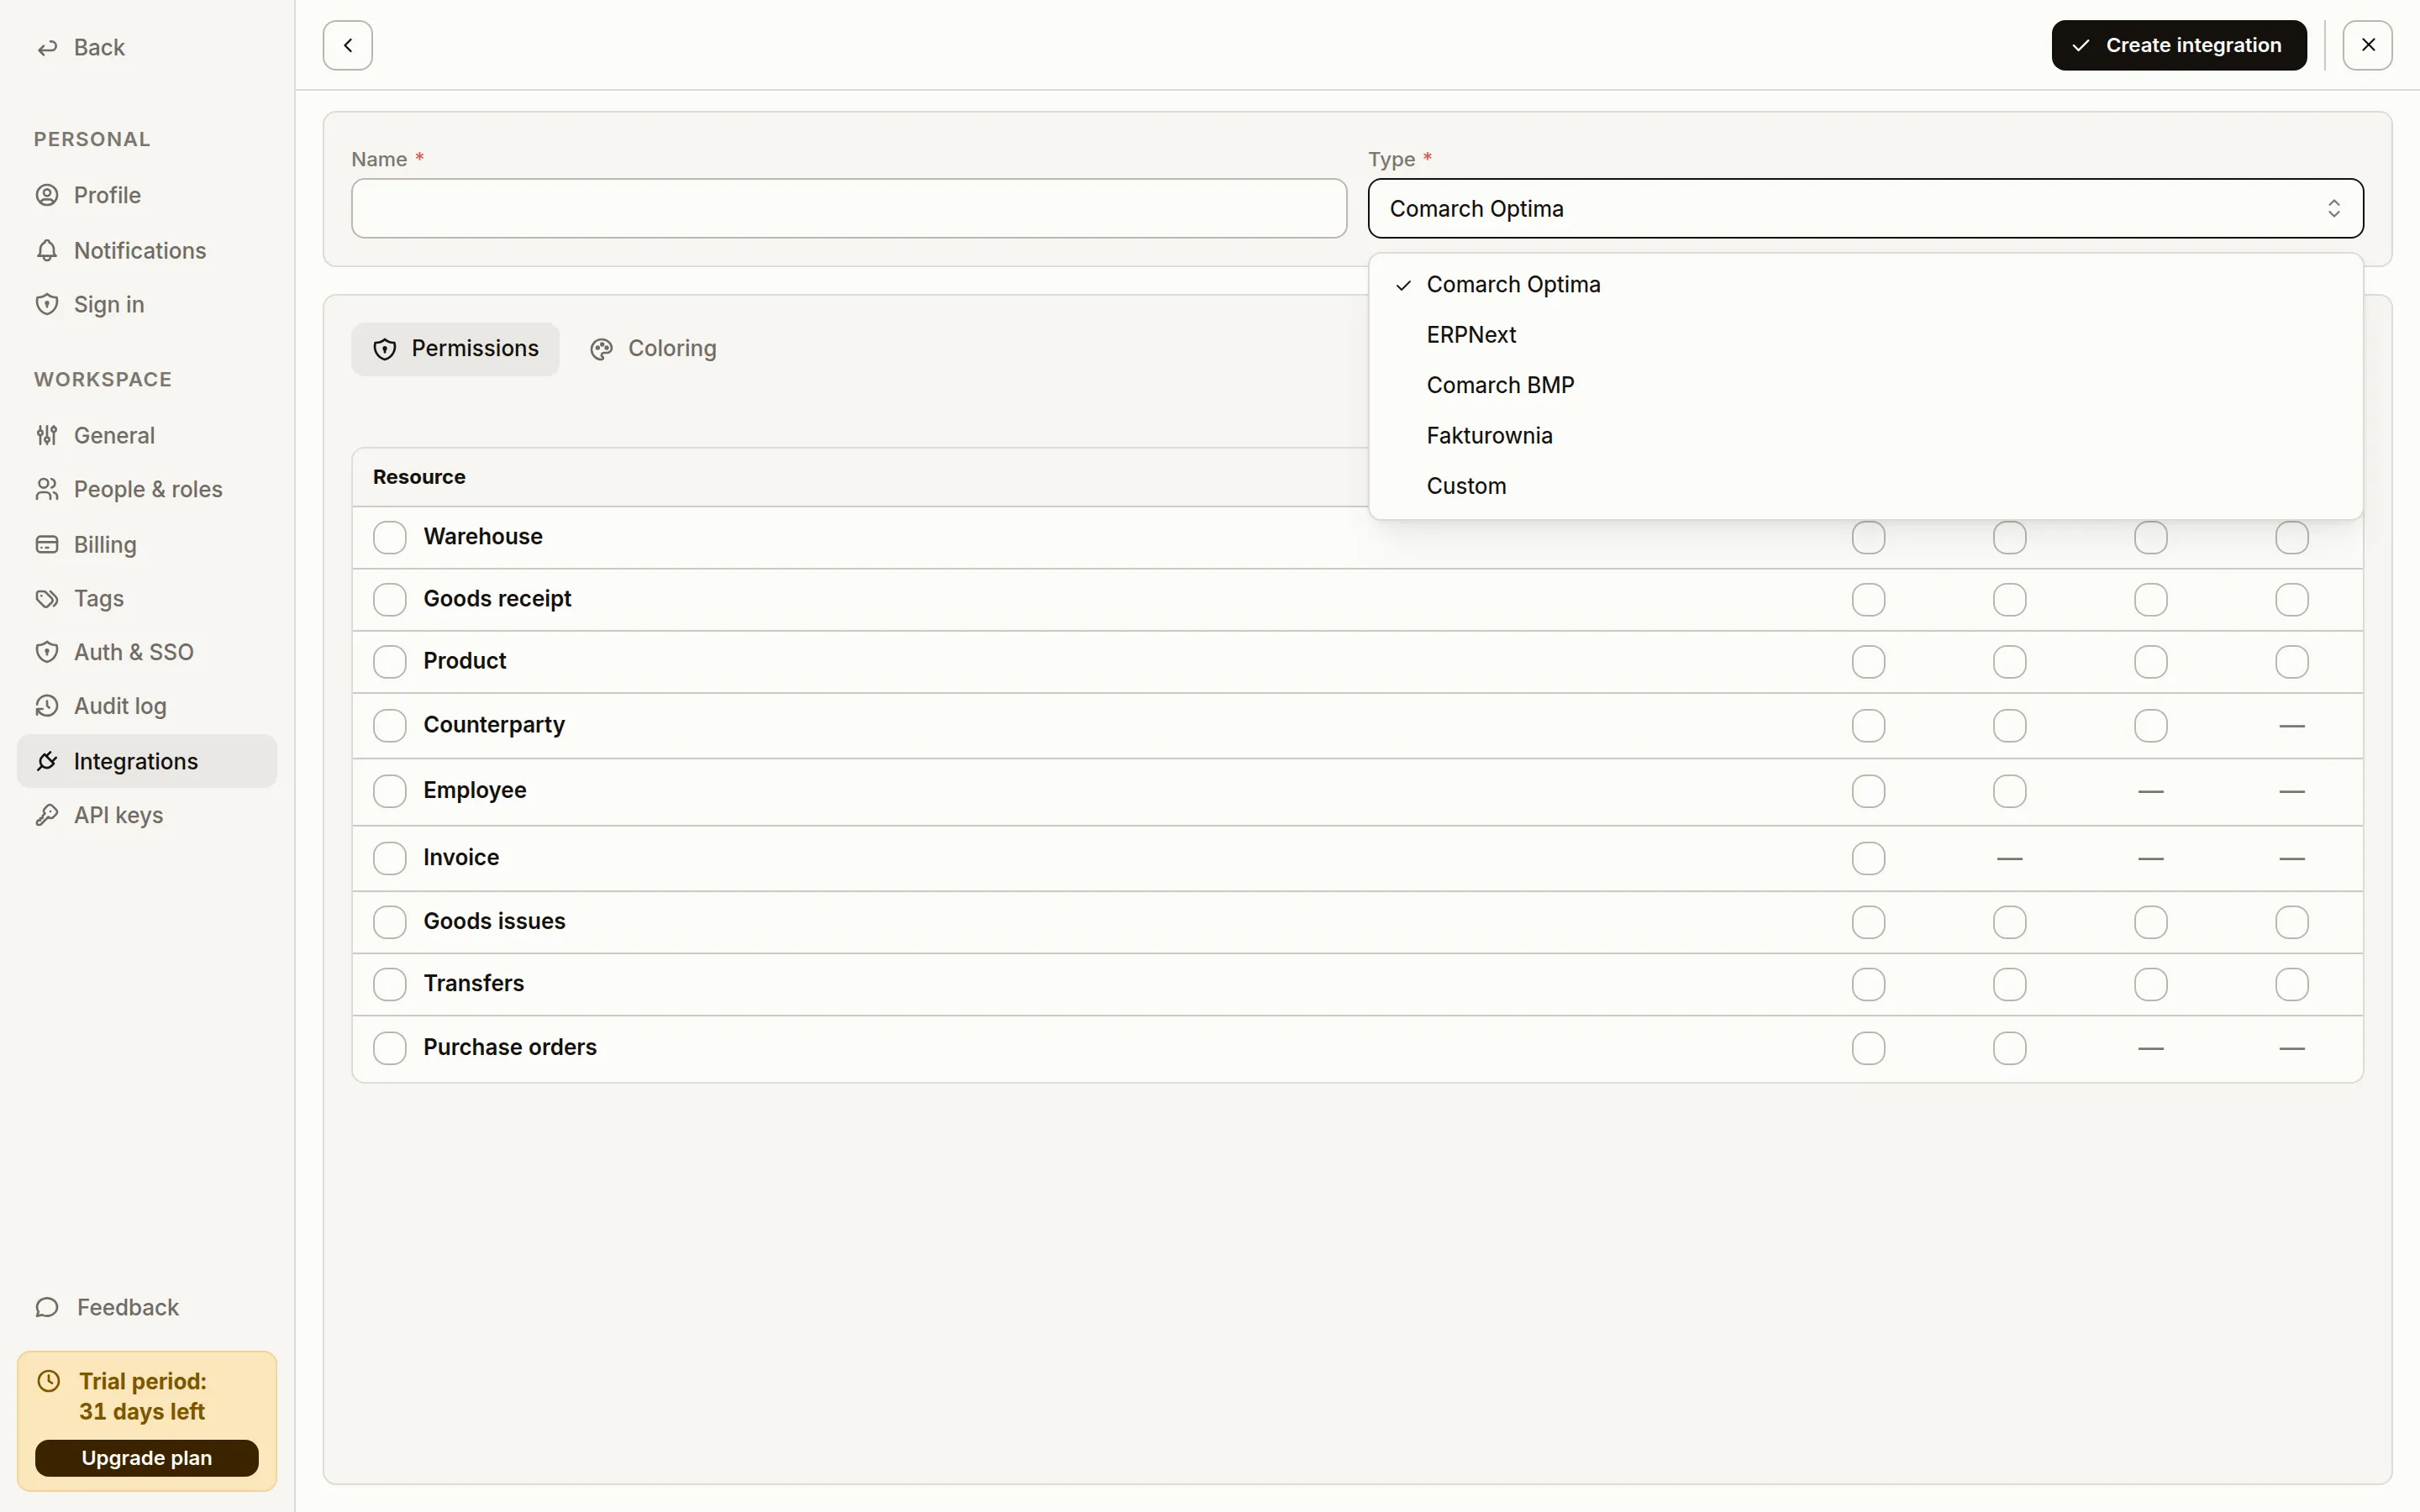
-
Pick the Company. The list fills itself once the address, key and secret are valid — Sancho asks ERPNext which companies exist. An empty list or an error under the field means the credentials do not work; fix them before going further.
-
On the Permissions tab, select the scopes the integration may use. Sancho only offers operations covered by a scope.
-
Save with Create integration. Sancho checks the connection straight away and records its status.
Verifying
Section titled “Verifying”On the Integrations list, the Status column shows the result of the last connection check, and Version shows the erpnext and frappe versions the server reported. After a successful save:
- the Warehouses, Products and Counterparties lists show ERPNext data, narrowed to the selected company,
- a receipt created in Sancho lands as a
Purchase Receipt(a delivery from a counterparty) or a Material ReceiptStock Entry(an internal receipt), - a receipt’s card shows its related documents: the orders it realizes and the invoices billing it.
The Logs tab on the integration card holds the call history. ERPNext validation messages reach Sancho with their original wording, stripped of markup.
Common problems
Section titled “Common problems”| Symptom | Cause |
|---|---|
| Company list stays empty while adding the integration | Wrong address, key or secret; the secret is visible only at generation time and cannot be read back — generate a new pair |
| Connection status red | The instance is not reachable over HTTPS, or the keys were revoked in ERPNext |
| Lists empty despite a healthy status | The selected company has no warehouses or documents, or the user lacks permission to them |
| Warehouse deletion refused | The warehouse has movement history — mark it inactive instead of deleting it |
| No save button on a document | The integration has no write scope on the Permissions tab |